
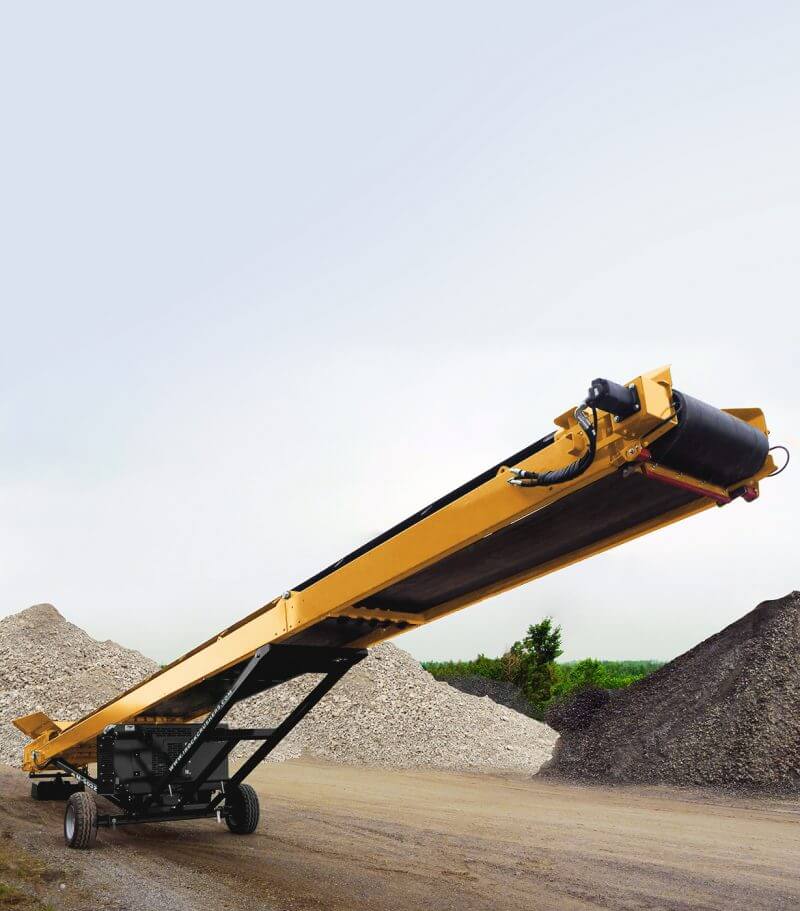
Maintenance Tip #4 Conveyor Inspections
Maintenance Tips from IROCK’s Technical Support & Service Coordinator
Eyes on the Splice
Conveyors can be so unappreciated. They are just supposed to do their thing, every hour you operate, all day long. But we all know what happens when they go down and everything grinds to a halt. To keep them functioning, daily inspections are key.
One of the things to always look at when inspecting a conveyor is the belt splice. It is so much simpler and cheaper to replace just a few worn belt clips than to replace the whole splice. For me, this is absolutely a daily thing. Clipped belt splice repairs are another maintenance item that is often overlooked until the splice is beyond repair, or worse yet, the belt has developed a tear. A good analogy would be a crack in your windshield. A quick and easy repair will make it invisible and not a problem. A few days of neglect and it turns into having to replacing a windshield.
Here are a few points to consider for routine conveyor inspection:
- Make it a point to shut conveyors down when a splice becomes visible.
- Check your belt scrapers routinely and record how much each is worn.
- Inspect troughing and return rollers to ensure that they are spinning. Properly maintained rollers will last a surprisingly long time. A frequent cause of roller failure is that material can become stuck near the shaft and stop a roller from spinning. Proper inspections and a few minutes of attention can correct this issue. While a small rock stuck on a roller may be a rare occurrence, there are some spots that it may not be. In this case, look to the root cause. Improperly adjusted or damaged flashing may be to blame.
Note: Taking a few minutes to repair or replace the flashing will not only stop material from falling on the ground—requiring someone to clean it up—but can ultimately save rollers and bearing replacement.
- Belt speed is also an important aspect of belt function. Belts traveling at improper speeds can cause many issues. Belts traveling too slow are easy to identify. Belts traveling too fast are often ignored, as they may not stop as often.
Belts traveling too fast for the load they are carrying are easier to identify. The paint is often beat up near the tail section of the belt, due to material roll back. Occasionally, that material bouncing back down the belt will bounce off the belt, hit the framework somewhere, and either fall on the ground, or get stuck in the tail drum. While winged tail pulleys will help to clear the obstruction, they are no substitute for a belt traveling at the proper speed to carry the given load.
Note: Keep in mind that just because a belt can travel at 350 feet per minute (FPM), does not mean it needs to. Reducing the FPM of a belt has the potential to not only reduce roll back and spillage, it should reduce maintenance costs, as the conveyor belt will make thousands less rotations per day, extending the life cycle of all wear parts on a given conveyor.
In our industry, it seems impossible to get through a season without having conveyor belt damage. Inevitably a large piece will become stuck and ultimately tearing a belt. When it happens, you will be forced to break out the bucket of clips to seal up a damaged area, which does not really adding strength to the belt, but simply bridging the tear. When it comes to using clips, most of the time, less is more. Every added clip in a belt is another potential catch point, and something else that has the potential to destroy the whole belt.
When repairing clipped splices, using smaller clips such as the 140-size belt clip can be the preferable direction to take. When a smaller belt clip catches on something, it may only rip out one of the holes in the belt. If that occurs, you can then add a 190 clip in place of the 140, and only punch one hole in the belt to facilitate the larger clip. Again, you are not trying to add strength to the belt, but rather just trying to repair an injury.
When the tear runs the length of the belt, less is more. Remember clips do not add strength to the belt, just seals the tear. A belt clip every 4-6 inches may be just what is needed to seal the belt back up. When drilling the holes for the new clips, it is best to use the top of the clips as a template. Then when drilling the holes, drill them towards the outside half of the marks made. This does make the bottom of the clip a bit more difficult to insert, but the repair should come out much better, ideally with no material leakage during operation.
Howard Malhado
Technical Support & Service Coordinator


